
Guides
Thermal paste — when and how to change it

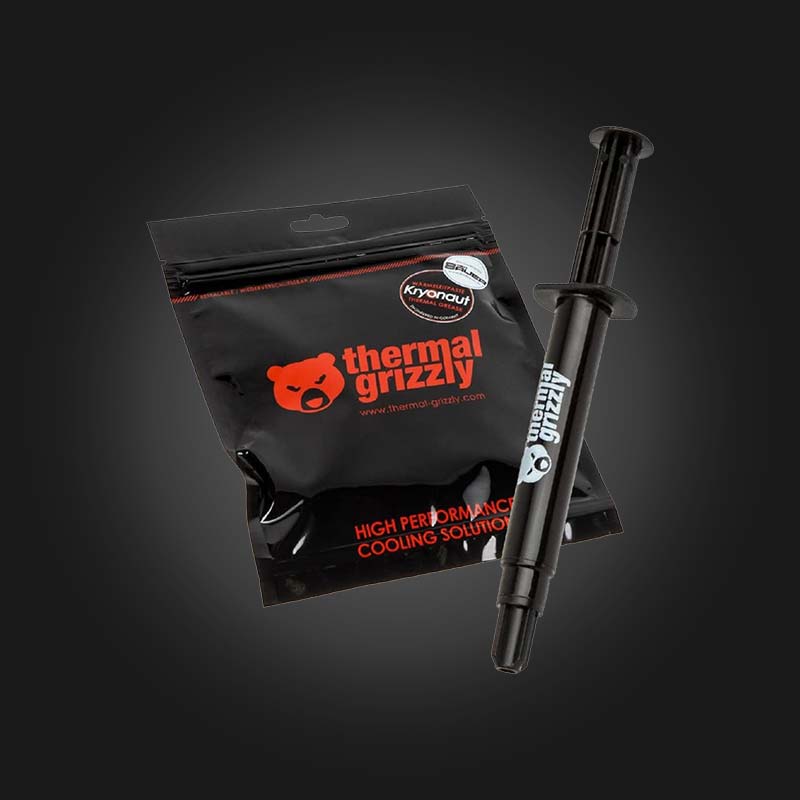
Thermal paste is a thin layer placed between the processor and the heat sink. Its purpose is simple: to fill the microscopic gaps between the two surfaces where air would otherwise remain — and air is a very poor conductor of heat.
When should we change?
General orientation — Once every 3-5 years. However, the signs are important for the term:
- The processor temperature systematically approaches 90°C under load.
- Fans are making noise even where they used to work quietly.
- FPS drops a few minutes after starting the game (thermal throttling).
- Even in idle mode, the temperature is above 50°C.
- Explain that the coolant and paste are dry, cracked, or powdery.
If the temperature is within the normal range, there is no need to change the paste — changing it annually as a „prophylactic” is pointless.
What do we need?
- Thermal paste (a small syringe is enough).
- Isopropyl alcohol at a concentration higher than 90%.
- A lint-free cloth or coffee filter (regular cotton leaves fibers).
- Phillips screwdriver.
Which pasta to choose?
Good enough for most people Non-conductive ceramic or silicone paste. Liquid metal pastes give better results, but they are electrically conductive — a single drop will burn a component on the motherboard. They are not recommended for beginners.
Step by step
- Turn off the computer. And unplug the power cord. Press the power button to clear the remaining charge.
- Remove the cooler. Loosen the screws in a crisscross pattern, gradually. If the paste is dry, the coolant may be "stuck" — twist it slightly, do not pull it out with force.
- Clean both surfaces. Dampen a cloth with alcohol and carefully remove the old paste from both the processor and the bottom of the cooler. Wait for it to dry completely.
- Apply new paste. Place a pea-sized drop of coolant in the center of the processor. There's no need to straighten it by hand—the coolant pressure will distribute it evenly.
- Bring back the cooler. Tighten the screws again crosswise, evenly, and gradually.
- Check the temperature. After switching on, under load.
The most common mistakes
- Excess pasta. More doesn't mean better—excess paste will be pushed out the sides and may end up in the socket.
- Very little pasta. Part of the surface remains uncovered.
- Leaving the protective film On the bottom of a new cooler — a surprisingly common mistake.
- Uneven tightening of screws — The coolant fits obliquely and the contact is incomplete.
Is it worth doing it yourself?
The procedure is not difficult and takes 20-30 minutes. However, if your computer is under warranty or you simply don't want to take the risk, it's better to contact a specialist — our Service center Replacing the thermal paste is done along with completely cleaning it from dust.
If the temperature problem persists after changing the paste, see Full article on computer cooling.

 All-in-One PC
 Laptop
 Motherboard
 CPU
CPU Cooling
 Case Fan
 Thermal Paste & Brackets
 Memory (RAM)
 Graphics Card
 Storage
 SSD
SSD Power Supply
 Keyboard
 Mouse
Mouse Mouse Pad
 Headset
 IEM
IEM Wireless Headphones
 DAC & Amplifier
 Headphone Accessories
 Speaker
 Controller
 Microphone
 Mic Arm
 Audio Mixer
 Webcam
 Stream Deck
 Capture Card
 Decor
Decor
 Display Cable
 USB & Type-C Cable
 Audio Cable
 Ethernet
 Gaming Chair